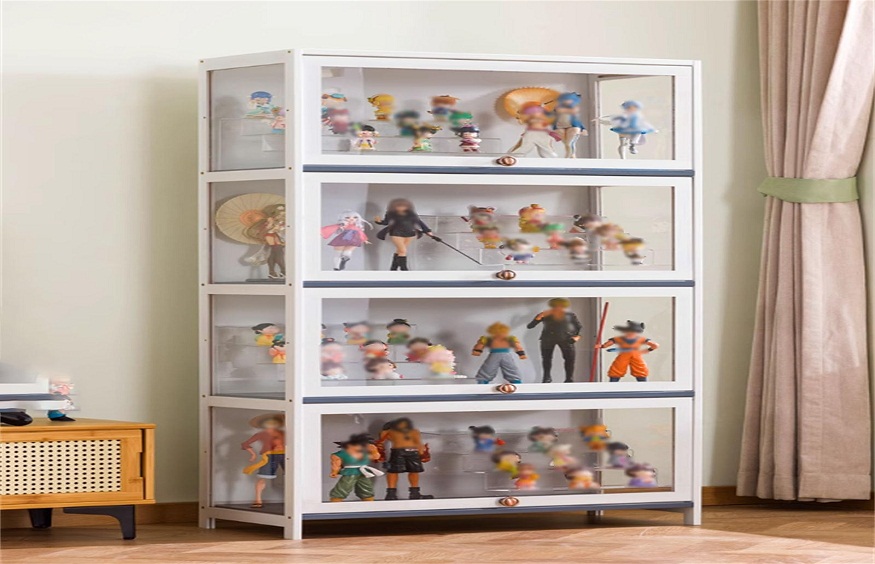
DIY LEGO Display Case: A Complete Tutorial
Are you looking for an innovative way to showcase your LEGO creations? A DIY LEGO display case might be the perfect solution for you! In this article, we will provide you with a step-by-step guide on how to create your very own LEGO display case that will not only protect your creations but also showcase them in style.
Why You Need a LEGO Display Case
Let’s face it, LEGO creations are a work of art. Whether you have spent hours meticulously building a LEGO set or have created your own masterpiece from scratch, you want to display it with pride. A LEGO display case not only protects your creations from dust and damage but also allows you to showcase them in a visually appealing way.
Materials Needed
Before you get started on building your DIY lego display cases, here are the materials you will need:
- A wooden frame
- Acrylic sheets
- Screws and screwdriver
- Wood glue
- Tape measure
- Clamps
- Sandpaper
- Paint and brush (optional)
- LED strip lights (optional)
Step 1: Measure and Cut the Frame
The first step in building your LEGO display case is to measure and cut the wooden frame to the desired size. Make sure to leave enough space for the acrylic sheets to fit inside the frame snugly. Use a tape measure to ensure accuracy and a saw to cut the wooden pieces to size.
Step 2: Assemble the Frame
Once you have cut the wooden pieces, use wood glue and screws to assemble the frame. Make sure the corners are square and use clamps to hold the pieces together while the glue dries. Allow the frame to dry completely before moving on to the next step.
Step 3: Attach the Acrylic Sheets
After the frame has dried, carefully attach the acrylic sheets to the frame using screws. Make sure the acrylic sheets are secure and do not wobble. You can also paint the frame at this stage if you want to add a pop of color to your display case.
Step 4: Add LED Strip Lights (Optional)
For an extra touch of style, you can add LED strip lights to the inside of your LEGO display case. This will not only showcase your LEGO creations but also illuminate them, creating a visually stunning display. Simply attach the LED strip lights to the inside of the frame and connect them to a power source.
Step 5: Display Your LEGO Creations
Once you have completed all the steps, it’s time to finally display your LEGO creations in your DIY LEGO display case. Arrange your creations inside the case, making sure they are secure and easily visible. Sit back and admire your handiwork!
In conclusion, a DIY lego display cases is a fantastic way to protect and showcase your LEGO creations. By following this step-by-step guide, you can create a display case that is not only functional but also visually appealing. So why wait? Start building your LEGO display case today and proudly showcase your creations for all to see!
Learn how to create your very own DIY LEGO display case with this step-by-step tutorial. Showcase your LEGO creations in style!
So, what are you waiting for? Will you be creating your own DIY LEGO display case soon?